Prairie Seed Drier
By Bill Kleiman, Nachusa Grasslands Project Director
|
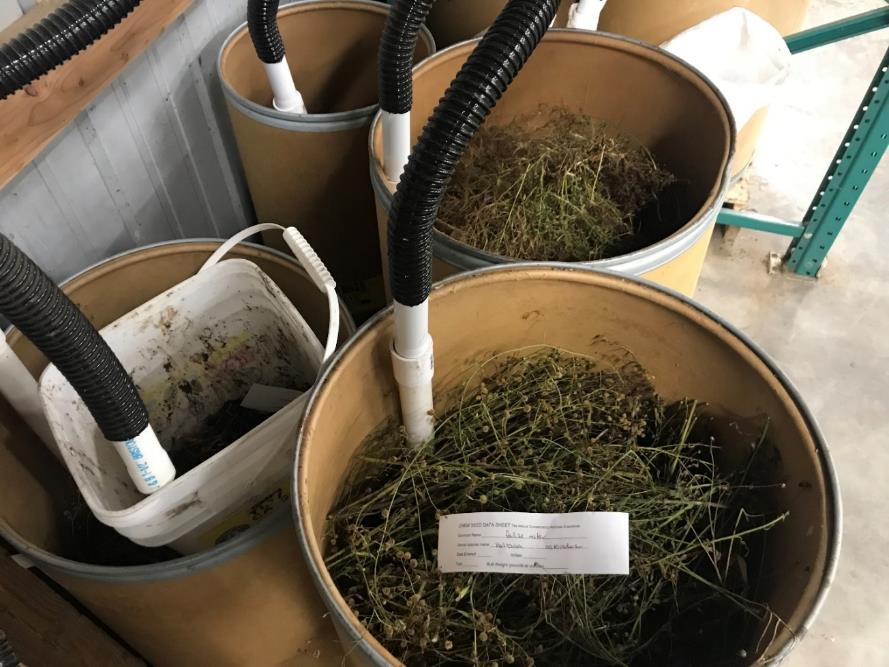
At Nachusa we hand harvest, with scissors and buckets, a few to several thousand pounds of seed from a few hundred species of plants. When we bring in our seed it typically needs some time to dry so it does not mold. We use trays at times, but we have found that blowing in a small amount of air into a barrel of damp seed will dry it out quickly enough.
|
This system will dry out a barrel of spiderwort, which is the wettest plant we harvest. This system is on its second year and we really like it so I wrote this document in case you want to build your own.
|
|
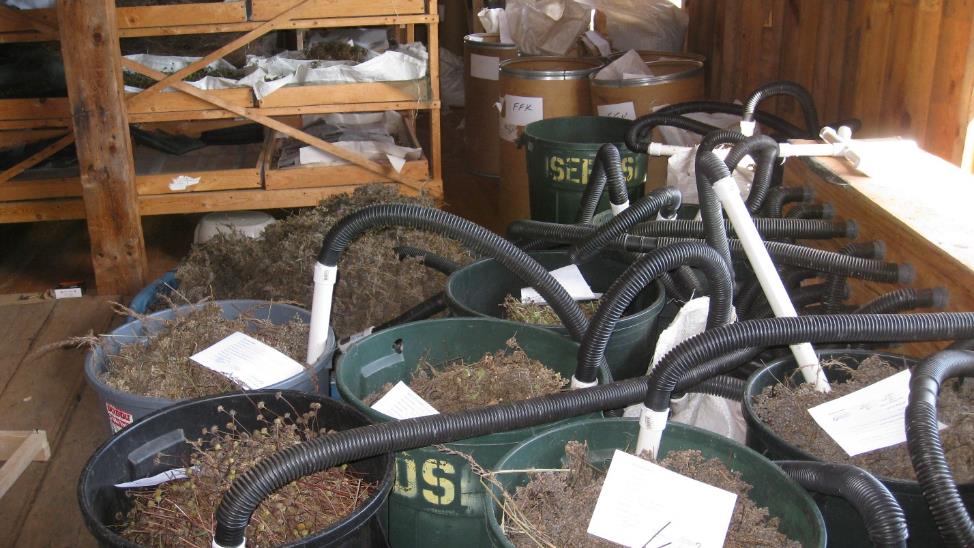
Our first iteration of the dryer was what we called 'Medusa' or the 'Octopus'. It was constructed with a squirrel cage fan blowing air into the plywood box plenum. The tubes were corrugated sump pump pipe and the air flowing through them made the pipes screech. But it dried seed very well.
|
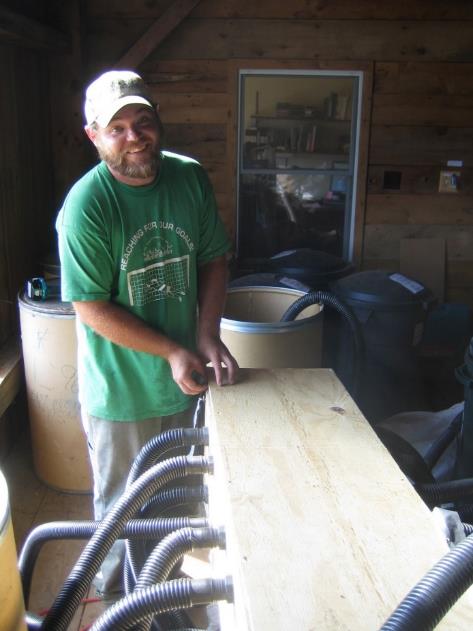
Here is a young Josh Clark building our first version of Medusa back in about 2007.
|
|
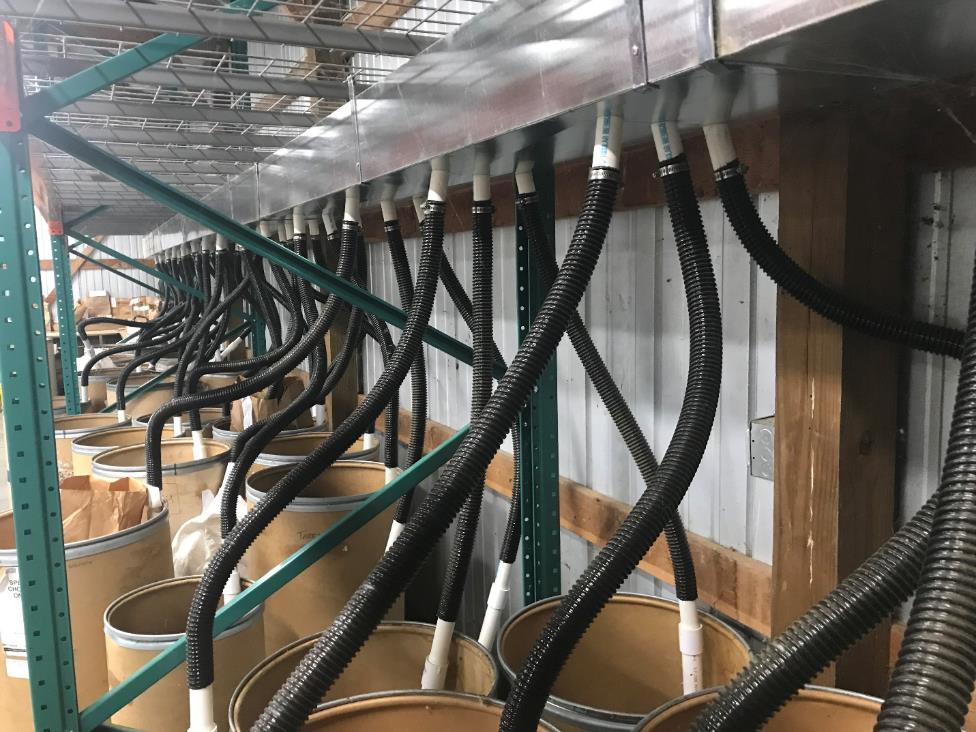
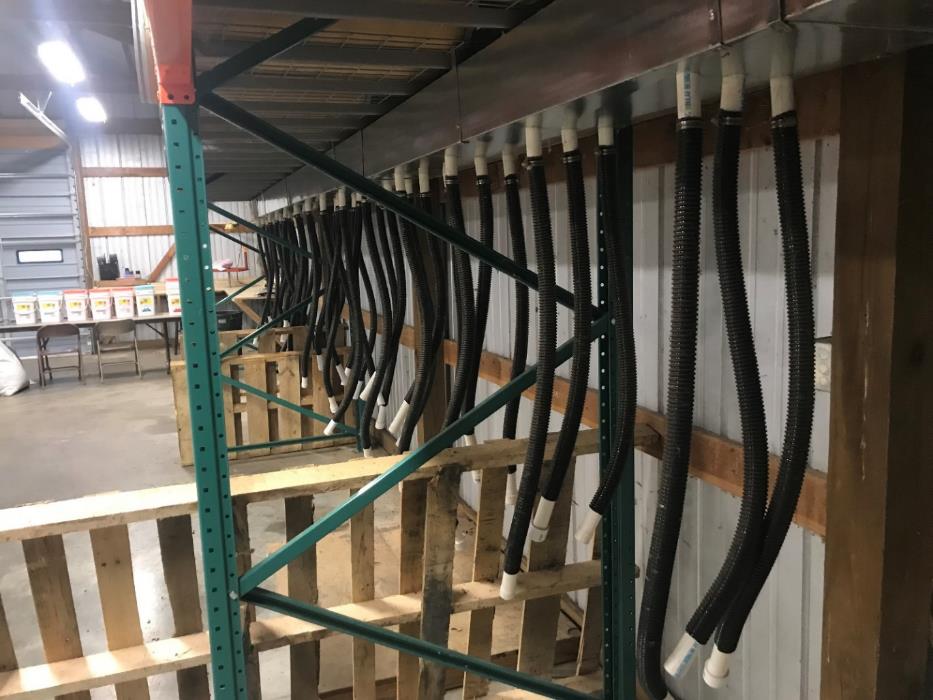
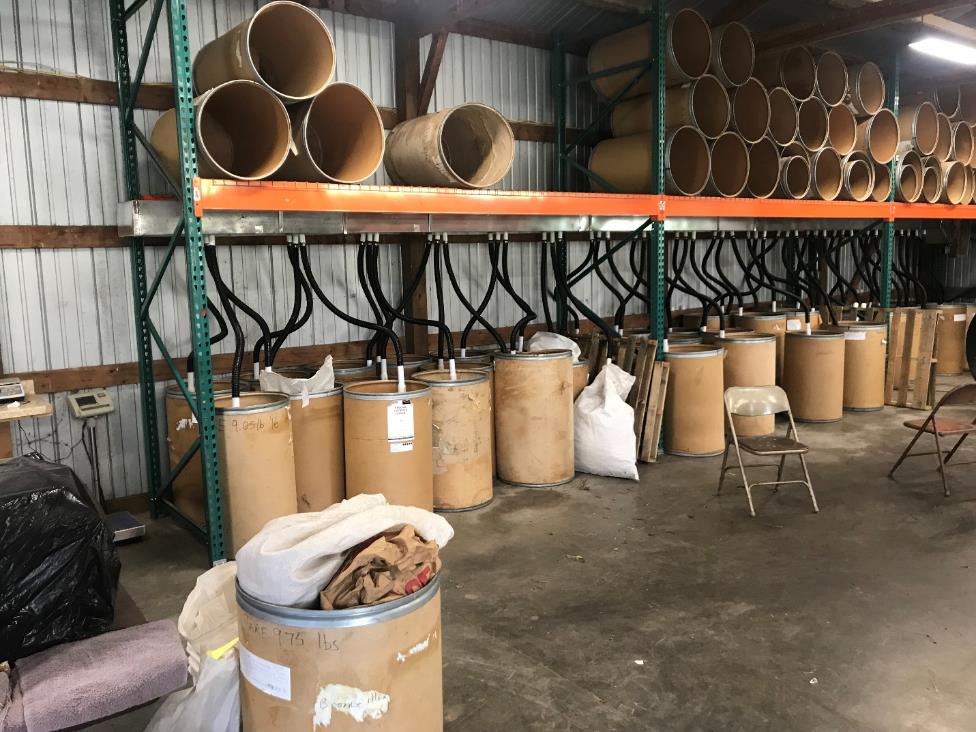
We renovated an old pole barn to dry, store, and process seed. A vision of this long row of dangling pipes came into my mind. I worked with volunteer Jim Lahman, who is a sheet metal worker, to refine the idea. This drier works very well.
|
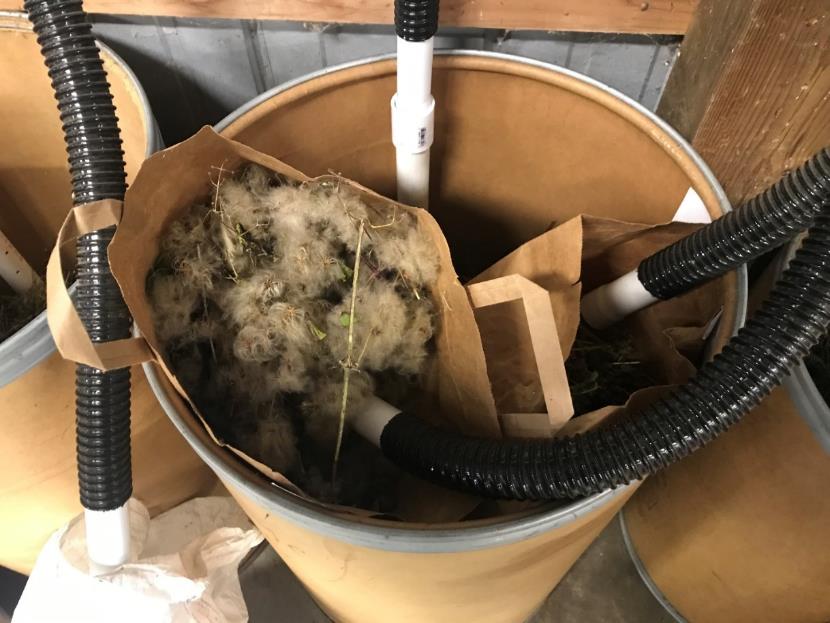
Here, virgins bower dries with a straight air stick placed in the paper bags.
|
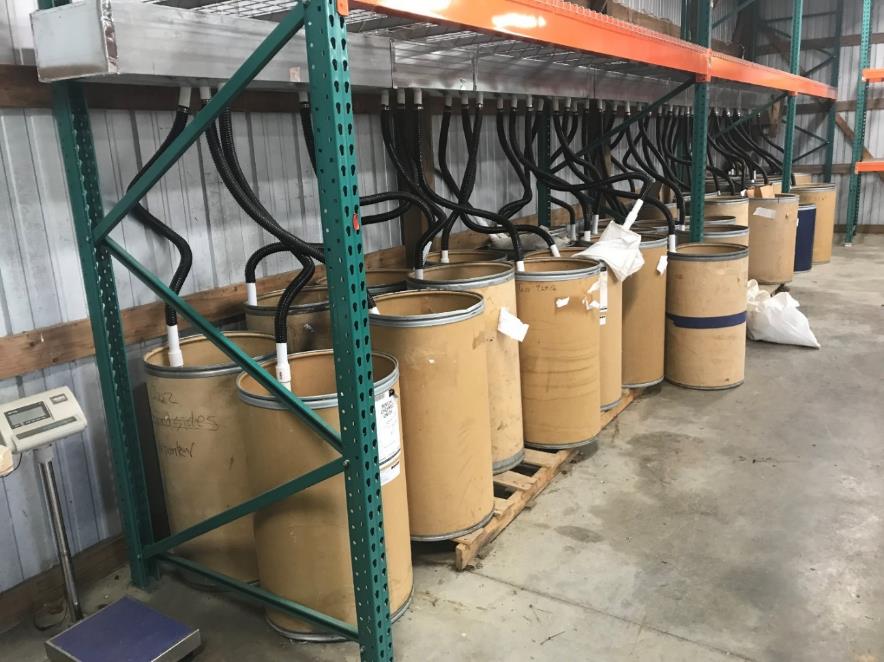
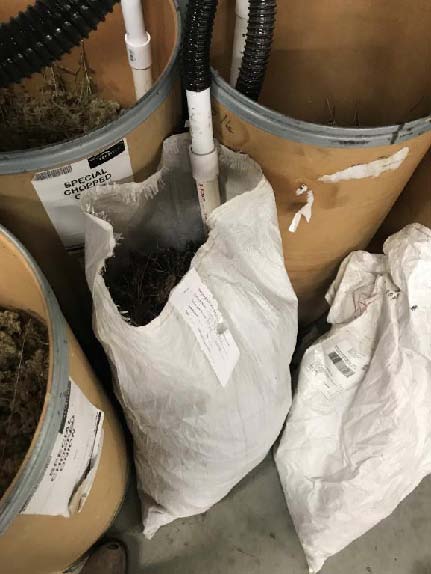
We have 51 tubes to dry 51 barrels of seed at once.
Below I explain how it works and how to make one for yourself.
|
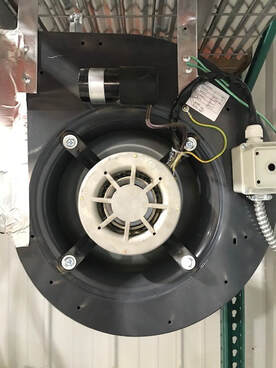
This is a squirrel cage fan, the same style of fan that blows air through ductwork in homes. The 110 v motor sits within the cage which bathes the motor in cooling air. The motor can go four speeds if you install a four speed switch. The fan takes air from inside the barn, not outside.
|
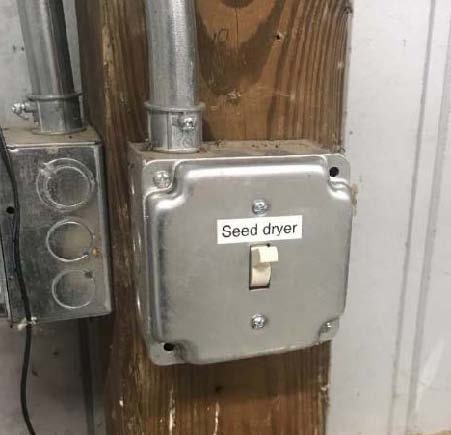
It is wired to this switch that is in a convenient place so you can have silence and save energy.
|
|
Above the tubes are waiting for some seed to dry. Let’s get picking.
|
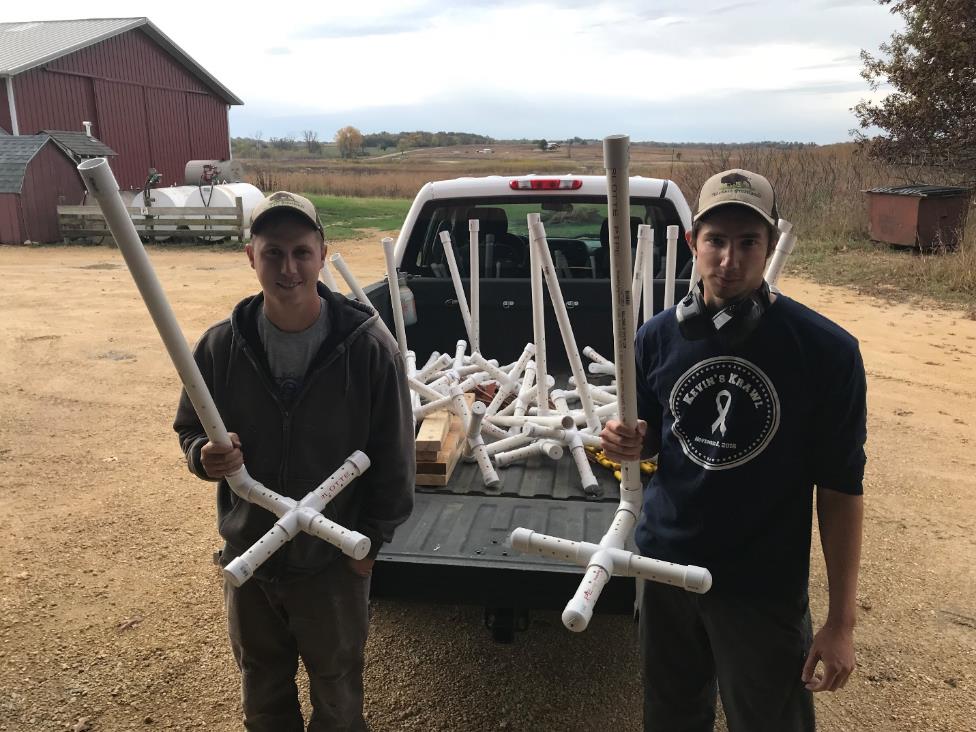
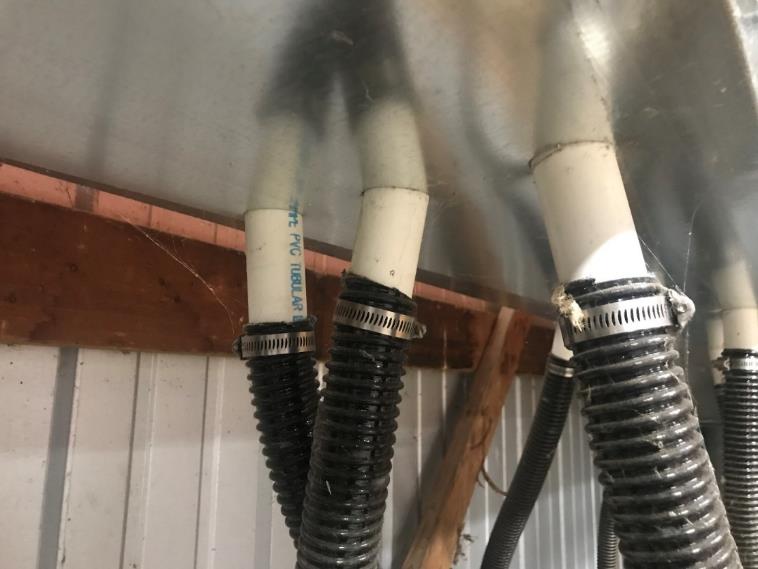
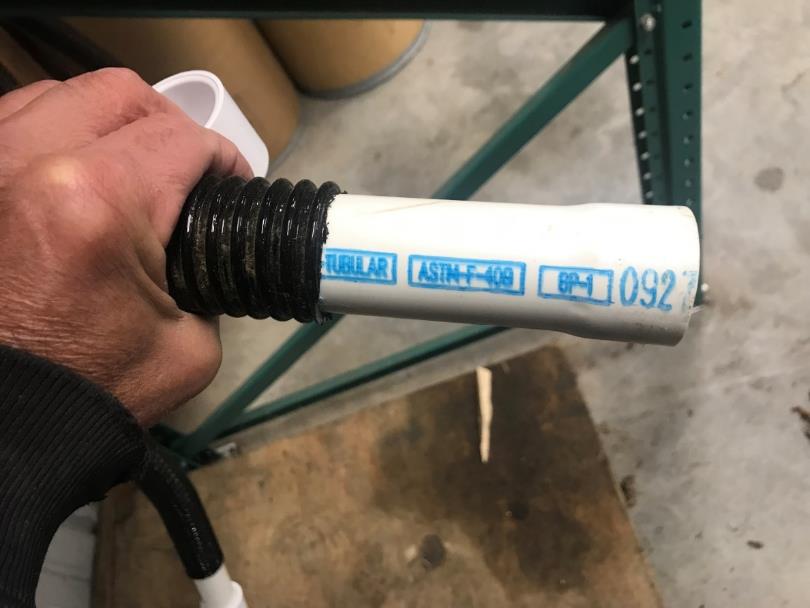
This particular pvc part is not at the local store. It is called a 1.5” glue fit extension tail piece. They are about a foot long and flare out to 1.5” diameter on their last few inches on either end. So, we cut each piece in two. One end goes in the duct work as you are assembling the duct. These pvc won’t pull out after you are done. They flare out just above the sheet metal of the duct. The other pvc part goes on the other end of the black air tube.
|
|
Above you can see the slight flare of the extension tail piece. The black tubing we used is made for central vacuum systems. It is corrugated on the outside but smooth on the inside. So, the pipes don’t sing when air flows through them. I ordered in a 50 or 100 foot role of this vacuum tubing. That white pvc barely fits in there. You need a gorilla and soapy water. You don’t need the hose clamps as it won’t come apart.
|
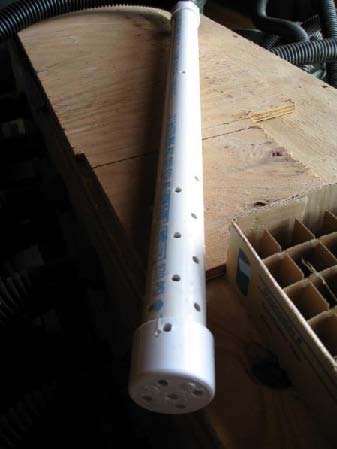
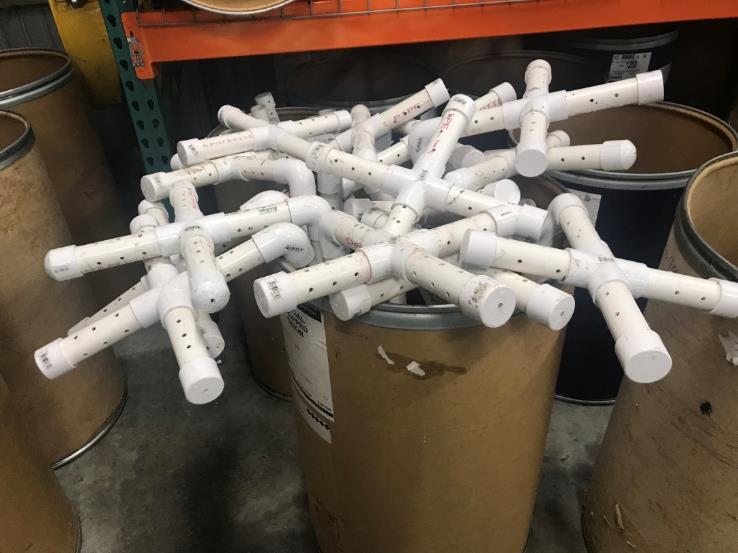
Above is a bucket of 1.25” air delivery sticks in storage. When you have seed to dry you place one stick in the paper barrel and pour your damp seed in the barrel. Then just slip connect the stick to the drier tube.
|
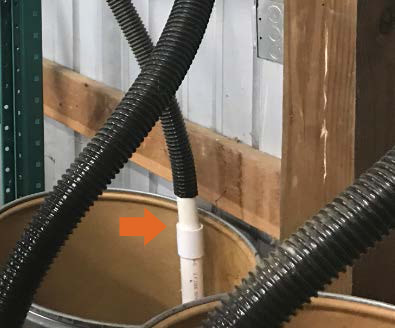
Above the arrow points to the slip fit connection.
|
The pallet shelving was the expensive part of this system. Crest Foods donated the shelving. There is used pallet shelving available, but it can be a hard to find when you need it fast. The pallet shelf has enough clearance so we don’t bump our heads. We can store a lot of paper barrels on top.
|
The barrels were free from Crest Foods. They have moved away from paper barrels. Plastic barrels would be fine too.
Notice the duct work is tucked back against the wall. The tubes were cut to just the right length. |

